Flag Configuration
In this lab, you will use the CloudBees Feature Management dashboard to remotely configure the values of the title and sidebar feature flags. We will also introduce the Flags Override tool, and walk through a scenario where developers may need to alter the values of flags for local testing without affecting the values for others.
Creating a CloudBees Feature Management Experiment
- Switch tabs to bring up the CloudBees Feature Management Dashboard.
- On the left-hand side of the screen, click to expand Flags in environment then select the Development environment to display the configurations available.
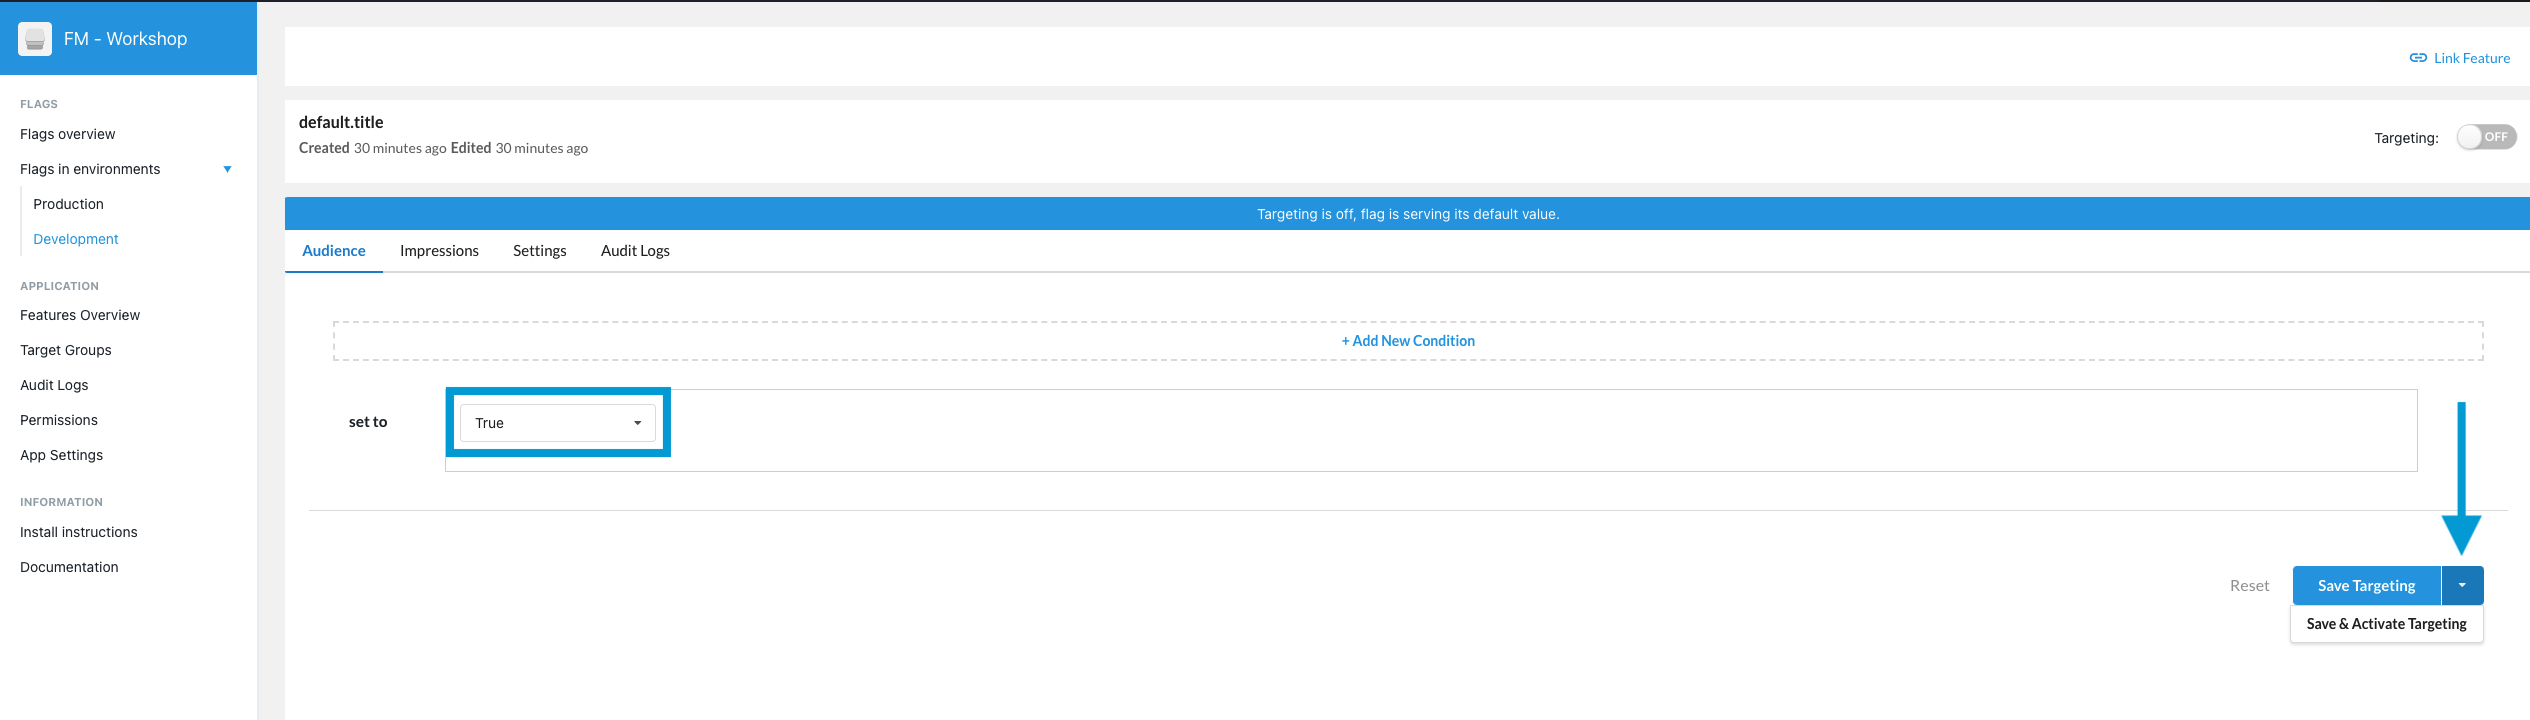
- Select the default.title configuration.
- Right now, the new title is hidden for all as we can see the targeting is off for this configuration.
- Let’s change and activate the targeting so the flag’s configuration will reflect all users should see a true value, and this new configuration should be enabled. Click the current False behavior value, and from the drop-down menu, choose True to edit the title flag experiment.
- When changes to a configuration are applied, a new configuration file is written and delivered to the devices when the targeting is activated. Click the arrow next to Save Targeting button and select Save & Activate Targeting to send the new configuration with its updated title flag value. You should see the targeting switch move to the On position.
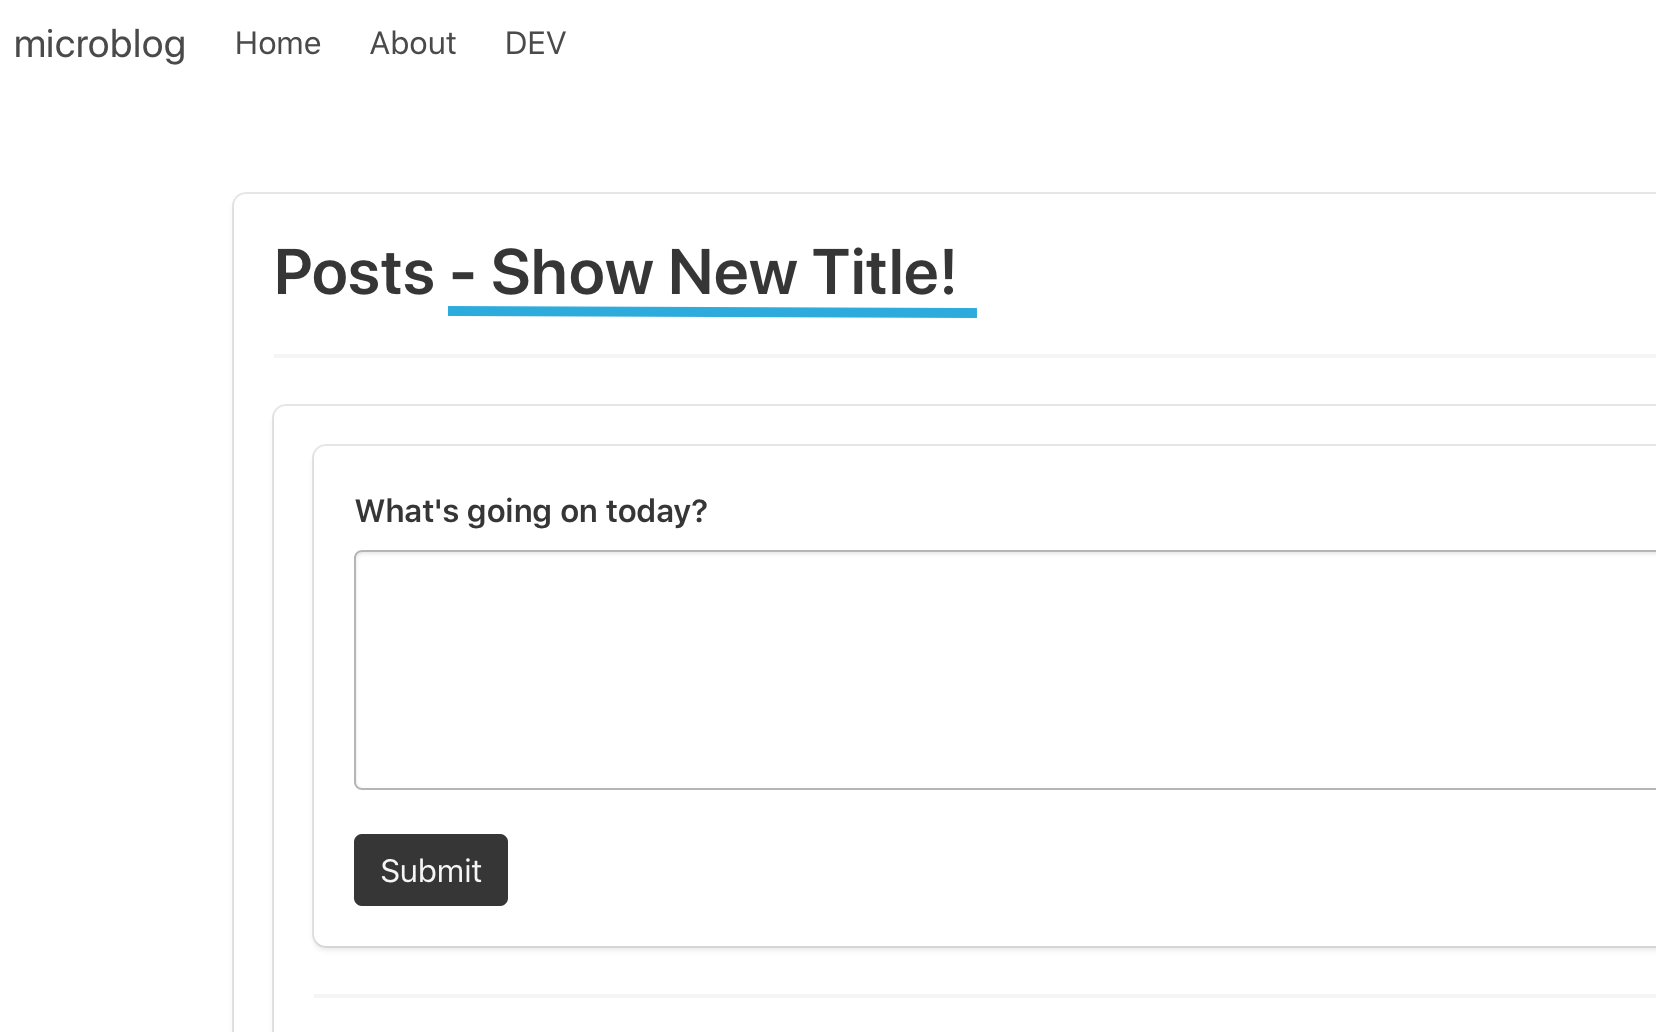
- Switch tabs to bring up the Microblog website. Thanks to the configurationFetchedHandler implemented in the previous lab, the page refreshes automatically and the new configuration is applied. The new title will appear!
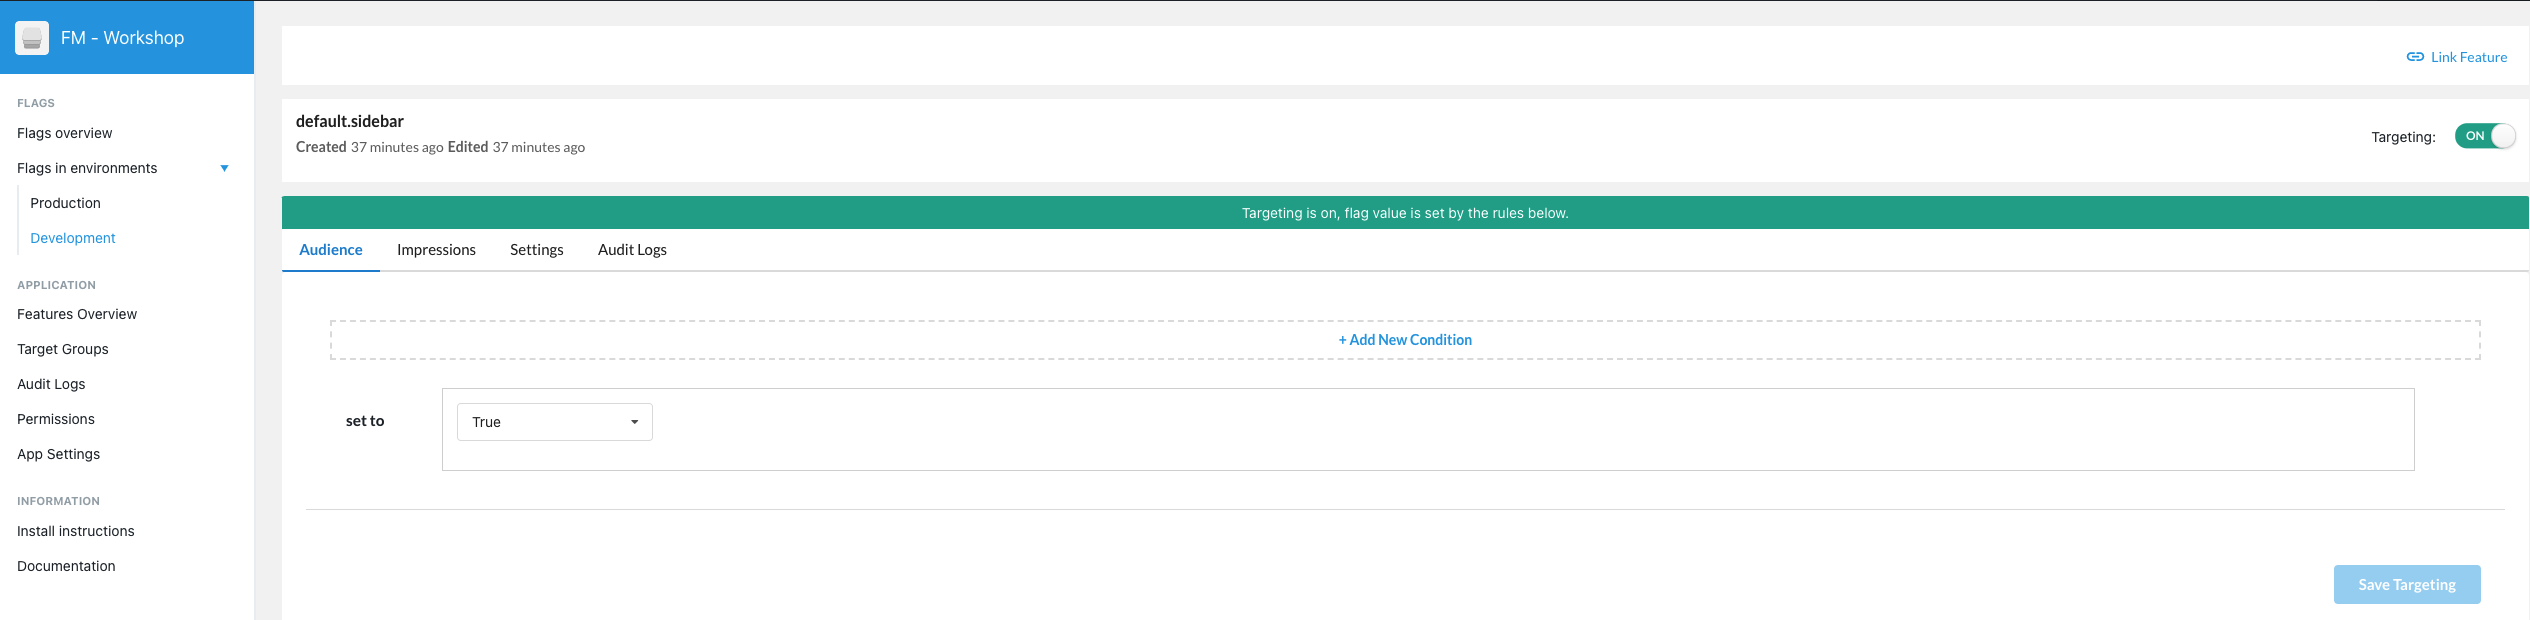
- Navigate back to the CloudBees Feature Management dashboard and navigate to Development environment and choose the default.sidebar flag to set its configuration.
- Similar to the title flag’s configuration, edit the sidebar configuration by changing the only condition’s False behavior value to True. Apply the new changes through the Save & Activate Targeting button.
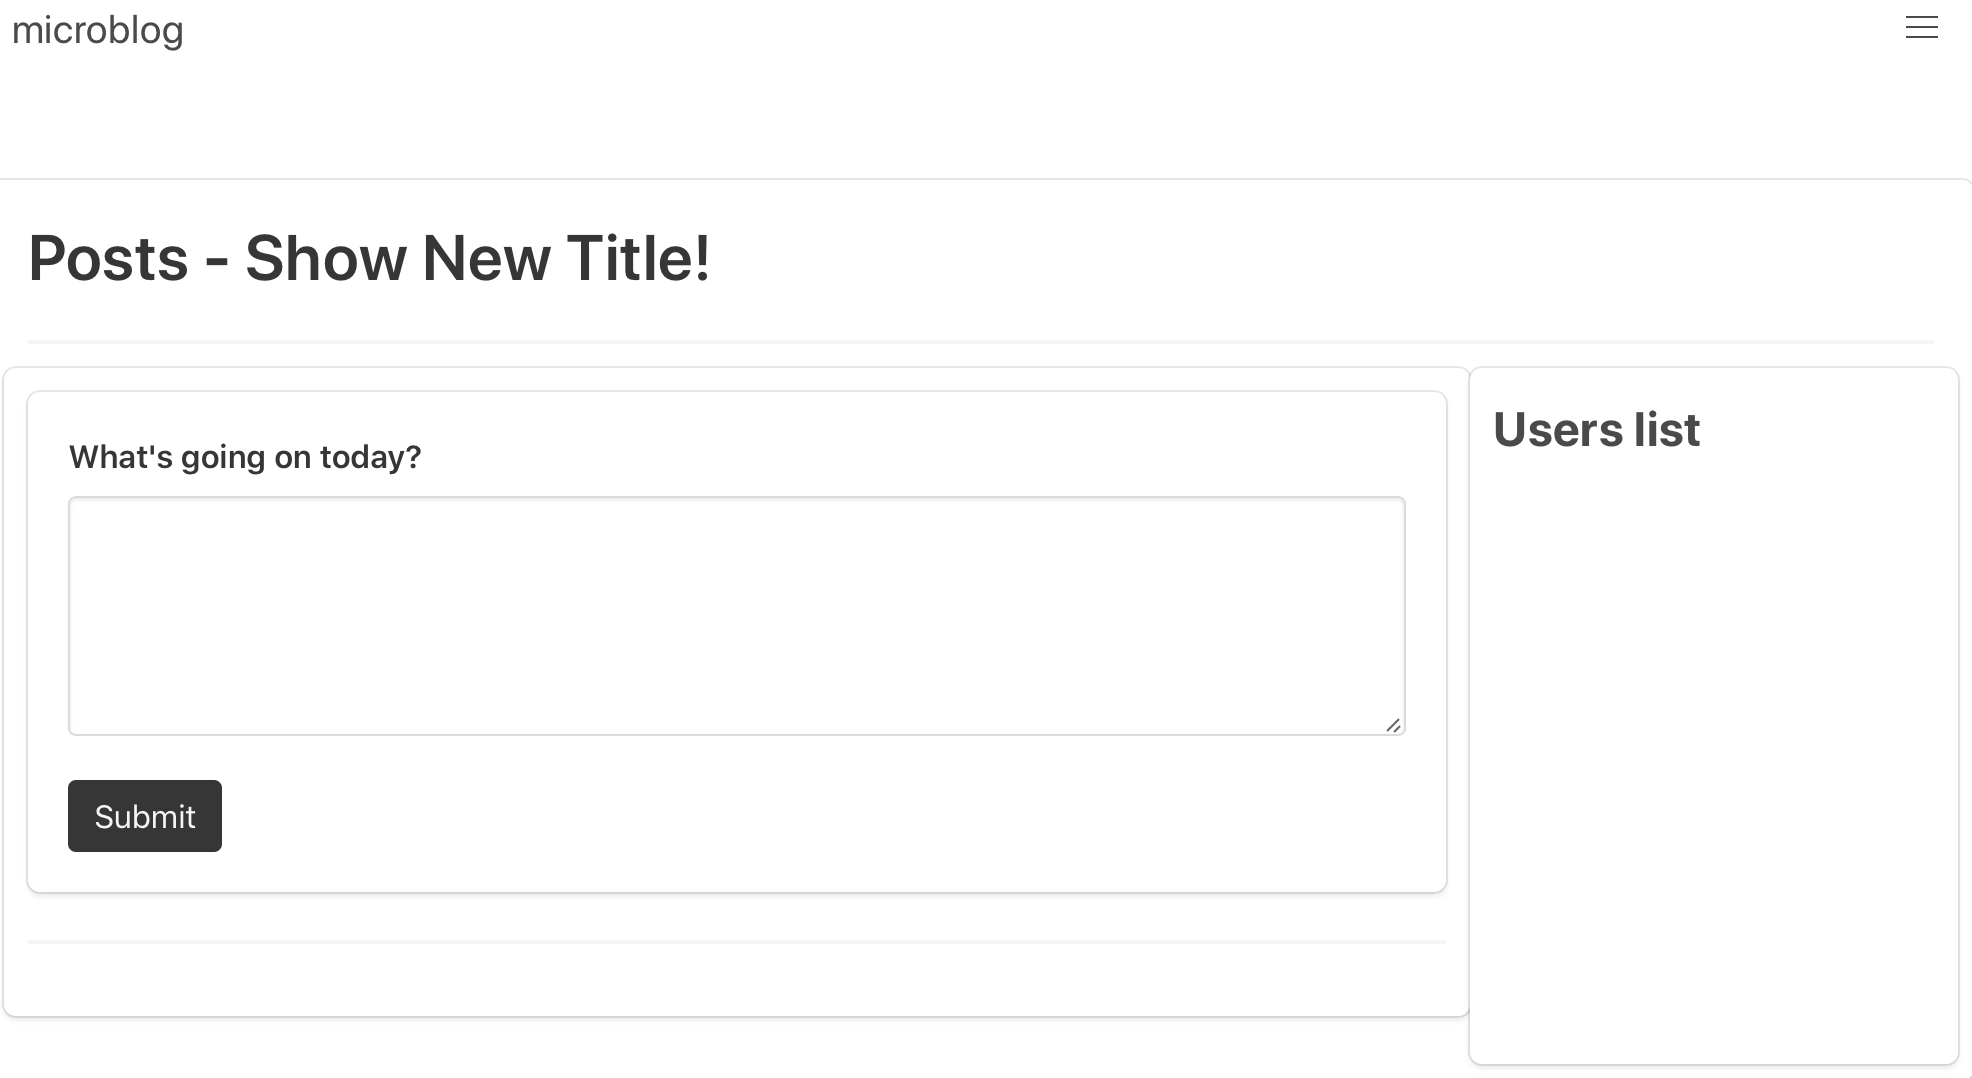
- Switch back to the Microblog website, and after the auto-refresh, the sidebar will now be displayed!
Flag Override View Interface
The experiments seen in a CloudBees Feature Management environment view govern the behavior of all code connected using that environment’s environment API key. However, a developer or tester may need to specify unique flag values running on his or her local machine, without altering the values for others. CloudBees Feature Management allows developers and testers to use a Flag Override view to act as local CloudBees Feature Management dashboard and easily change flag values. But, it’s important to restrict this Flag Override tool, as it would probably want to be hidden from end-users.
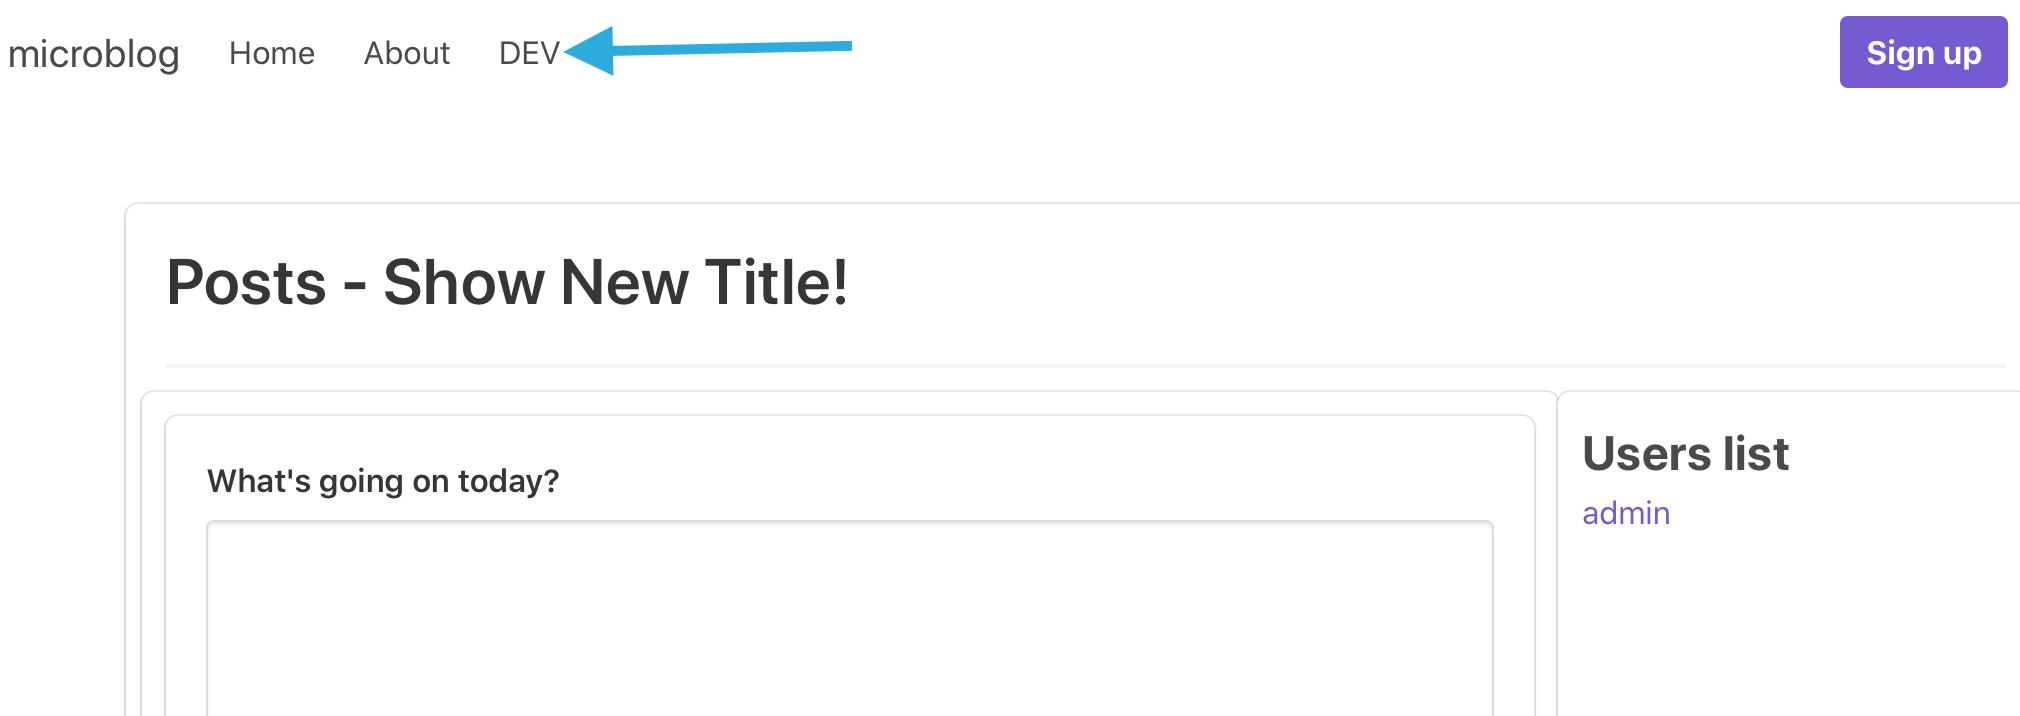
- Switch tabs so the Microblog website is in view. Click the DEV link in the header navigation, and the Flag Override window should appear in the lower right-hand corner of the screen.
- Right now, both title and sidebar flags are configured to True from their respective development experiments configured through CloudBees Feature Management dashboard. Change the title flag’s local value to False, and refresh the page.
- To simulate another tester on a different device, open the Microblog website in a different internet browser or private browsing session (don’t close the existing session). In the new browsing session, the title and sidebar are both True due to the configuration applied from the experiments in the CloudBees Feature Management dashboard.
- In new session, again bring up Flags Override view (selecting DEV panel in the header). Change the local flag values so that they are inverted from previous browsing session (title is True, set sidebar is False). Refresh the page to see the changes.
- Each user (represented by the microblog in separate browsers) has set their own personal feature flag values for local testing or development. Close the newer browser when finished. In original session, open Flag Override. Then select Reset All Overrides, close the Flag Override view, and finally refresh the page.
Learning Flags Override Code Implementation
- In GitHub, navigate to the root directory of your microblog-frontend repository.
- Making sure you are in the development branch, navigate to src/components/NavMenu.vue by clicking the src folder, then components folder, and finally the NavMenu.vue file.
- Note that on Line 16, we are including the Flags Override view, made available when the DEV link is seen, gated by v-if=“isDev”.
- The Flags Override view relies on including the CloudBees Feature Management library for this file as seen on Line 45. The function is implemented using the library’s Rox.showOverrides(), seen on Line 53.
- To restrict the Flags Override view and functionality from unintended audiences, we have chosen to show this tool only on the Development branch deployments. This is accomplished on Line 15, where isDev gates the component using the boolean value returned from the function defined on Line 58.
Lab 3 Completed!
Congratulations! You have finished Lab 3!